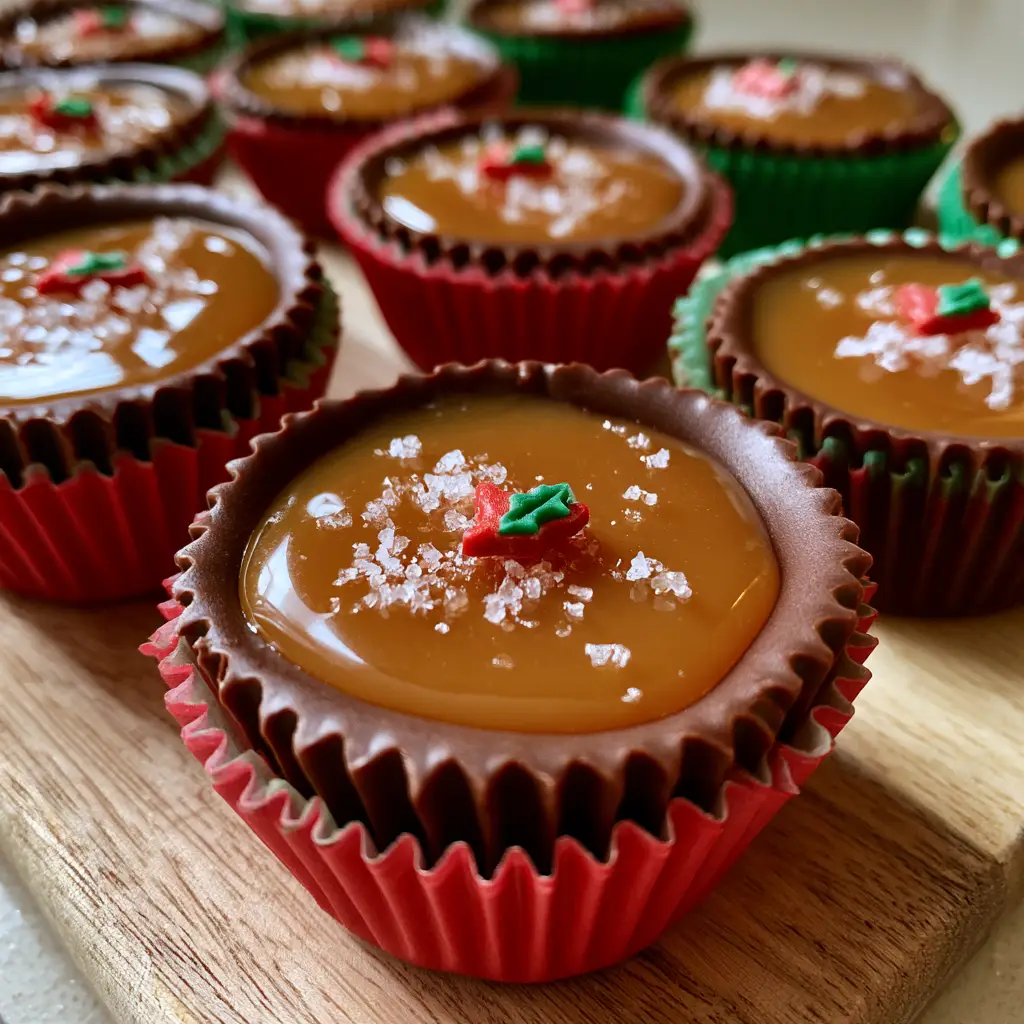
These Christmas Chocolate Caramel Cups are the ultimate festive showstopper for your holiday dessert platter. Nestled in vibrant pleated red and green paper candy liners, each cup features a thick, firm dark chocolate shell with a professional rippled edge. When you bite into one, you are met with a center of glossy, translucent golden-amber liquid caramel that flows perfectly against the dark cocoa notes. Topped with a light dusting of flaky white sea salt and a single tiny red and green holly-shaped sugar garnish, these treats look as though they came straight from a high-end boutique chocolatier.
If you are looking for a recipe that captures the magic of the season while appearing absolutely effortless on a rustic wooden serving board, these Christmas Chocolate Caramel Cups are your answer. The contrast between the matte dark chocolate and the shimmering, liquid amber filling creates a visual depth that is pure Pinterest gold. Whether you are hosting a party or looking for the perfect edible gift, this recipe delivers professional results with simple, high-quality ingredients.
Why You Will Love These Festive Christmas Chocolate Caramel Cups
- The Perfect Texture Contrast: You get a satisfying “snap” from the dark chocolate shell followed immediately by the luxurious flow of liquid amber caramel.
- Holiday Visual Appeal: The pleated red and green liners and holly sugar sprinkles make these instantly recognizable as a Christmas classic.
- Sophisticated Flavor Profile: The addition of flaky white sea salt cuts through the sweetness of the caramel, elevating the entire experience for adult palates.
- No-Bake Ease: While they look complex, these cups require no oven time, making them a stress-free addition to your holiday baking schedule.
- Customizable Gifting: They fit perfectly into standard holiday tins and stay stable at room temperature, making them ideal for cookie swaps.
After a heavy holiday meal of million dollar italian lasagna, these small, decadent bites are the perfect way to end the evening without feeling overly stuffed.
Essential Ingredients for Gourmet Christmas Chocolate Caramel Cups
To achieve that forensic visual accuracy seen in professional food photography, the quality of your ingredients matters. Here is what you will need for your Christmas Chocolate Caramel Cups:
- Dark Chocolate Wafers or Bars: 12 oz (340g). Use a chocolate with at least 60% cacao for that signature firm, dark shell and deep flavor profile.
- Granulated Sugar: 1 cup (200g). This is the base of our liquid amber caramel. Avoid using brown sugar here, as we want that translucent, golden glow.
- Salted Butter: 6 tbsp (85g). Room temperature butter helps emulsify the caramel into a glossy, smooth ribbon.
- Heavy Cream: 1/2 cup (120ml). This provides the “liquid” element to the caramel, ensuring it stays soft and flowy rather than hardening into a tooth-cracking candy.
- Flaky White Sea Salt: 1 tsp. Maldon or a similar coarse salt provides the visual white dusting and a sharp flavor contrast.
- Holly Sugar Sprinkles: 24-30 pieces. Look for the tiny red and green holly-shaped sugar garnishes to place right in the center of each cup.
- Vanilla Extract: 1 tsp. A high-quality bean extract adds an invisible layer of floral aroma to the caramel center.
Step-by-Step Guide to the Perfect Chocolate Shell
The foundation of these Christmas Chocolate Caramel Cups is the shell. We want a thick, firm dark chocolate shell that holds its shape but isn’t too thick to bite through easily.
Melting and Tempering
Break your dark chocolate into small, uniform pieces. Using a double boiler or a microwave in 20-second bursts, melt the chocolate until it is 90% liquid. Remove from heat and stir until the remaining bits melt; this “seed” method helps maintain the dark chocolate shell’s shine and snap.
Coating the Pleated Liners
Place your red and green paper candy liners on a flat tray. Spoon about 1 teaspoon of melted chocolate into each liner. Use the back of the spoon or a small brush to push the chocolate up the sides, ensuring you follow the pleated rippled edge. This creates the professional look we see on the rustic wooden serving board. Chill the shells in the freezer for 10 minutes to set firmly.
Mastering the Glossy Liquid Amber Caramel Filling
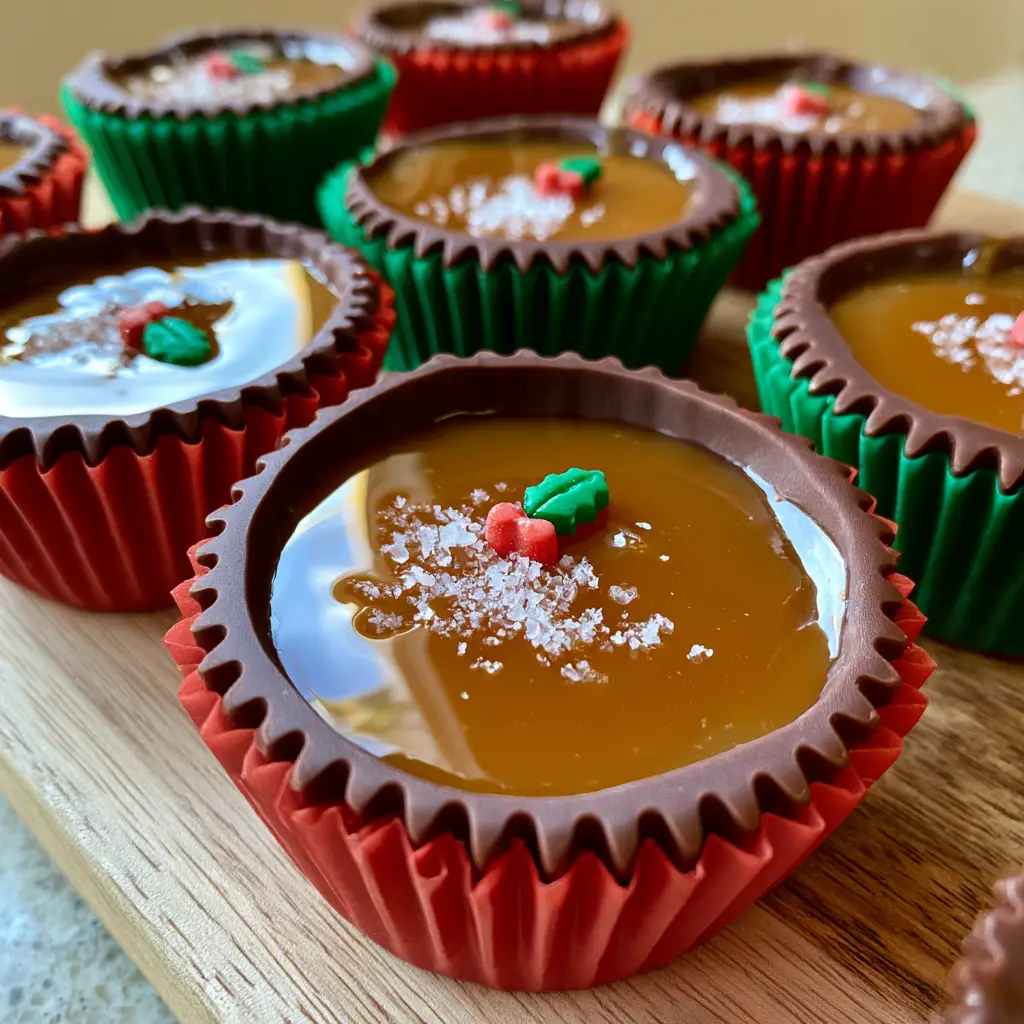
Making caramel can be intimidating, but the key to Christmas Chocolate Caramel Cups is patience and visual cues. We are aiming for a glossy, translucent golden-amber liquid.
The Dry Caramel Method
Place the granulated sugar in a heavy-bottomed saucepan over medium heat. Do not stir! Instead, gently swirl the pan as the sugar begins to melt. You will see it transform from white crystals to a clear liquid, and finally to a translucent golden-amber color. This is the precise moment to move to the next step.
Deglazing with Cream and Butter
Once the sugar reaches that perfect amber hue, whisk in the room-temperature butter. It will bubble violently—this is normal. Once the butter is incorporated, slowly pour in the heavy cream (120ml). Continue whisking over low heat for 1-2 minutes until the mixture is a completely smooth, glossy liquid caramel. Stir in the vanilla and a pinch of fine salt, then let it cool until it is just warm to the touch but still liquid.
If you’re looking for a savory comfort food to prep while your caramel cools, consider this kielbasa and potato casserole for an easy weeknight win.
Assembly: The Final Festive Flourish
Now that your dark chocolate shells are set and your liquid amber caramel is cooled, it is time for assembly. This is where the Christmas Chocolate Caramel Cups truly come to life.
Filling the Cups
Carefully pour or spoon the caramel into the chilled chocolate shells. Fill them almost to the brim, leaving just a tiny bit of space at the top. The liquid amber should look smooth and reflective, mirroring the light in your kitchen.
The Salt and Holly Garnish
While the caramel is still slightly tacky, sprinkle a few grains of flaky white sea salt over the surface. Finally, place one red and green holly-shaped sugar garnish directly in the center of the cup. The contrast of the red and green against the golden caramel and dark shell is the hallmark of this festive treat.
For a full holiday spread, serve these alongside a comforting bowl of creamy garlic parmesan soup to balance the sweet with something savory and rich.
Expert Tips for Success
- Room Temperature Ingredients: Always ensure your cream and butter are not cold when adding them to the hot sugar. Cold dairy will cause the caramel to seize and become lumpy.
- Don’t Over-Fill: If the caramel overflows the chocolate shell, it will stick to the pleated red and green liners, making them difficult to peel.
- Use a Squeeze Bottle: For the cleanest look, transfer your warm caramel to a plastic squeeze bottle to fill the shells with precision.
- Wait to Salt: If the caramel is too hot, the flaky white sea salt will dissolve. Wait about 5 minutes after filling before adding the salt for that distinct crystal look.
- Avoid Moisture: Ensure your chocolate shells are completely dry before adding caramel. Any water will cause the chocolate to bloom (turn white).
Storage and Gifting Instructions
These Christmas Chocolate Caramel Cups are remarkably shelf-stable. They can be stored in an airtight container at room temperature for up to 7 days. If your kitchen is very warm, you may store them in the refrigerator, but let them sit at room temperature for 15 minutes before serving to ensure the caramel center returns to its liquid amber state.
For gifting, place them in a single layer in a holiday tin lined with parchment paper. Because they are nestled in red and green liners, they look beautiful even without extra decoration. They pair wonderfully with a loaf of apple zucchini bread for a complete homemade gift basket.
What to Serve With Christmas Chocolate Caramel Cups
These treats are rich and decadent, so they pair best with items that offer a contrast in texture or flavor. A sharp, dark roast coffee or a glass of dry sparkling wine works beautifully to cut through the caramel sweetness. If you are serving a full holiday brunch, these are a great sweet finish after a savory dish like a Dolly Parton 5-ingredient casserole.
Frequently Asked Questions
Yes, but be aware that milk chocolate is softer and melts at a lower temperature. Your shells may be more fragile and less ‘snappy’ than the dark chocolate version.
They are best stored at room temperature in a cool, dry place. Refrigeration can cause the chocolate to lose its shine (bloom), but if your house is very warm, the fridge is fine—just bring them to room temp before eating.
The secret is the ratio of heavy cream to sugar. By using 1/2 cup of heavy cream for every cup of sugar, the caramel remains a glossy, translucent liquid even after cooling, rather than turning into a hard candy.
Graininess happens when sugar crystals re-form. To avoid this, do not stir the sugar while it is melting. If it does become grainy, you can sometimes fix it by adding a teaspoon of water and whisking over low heat until smooth.
Most craft stores or baking supply aisles carry festive holiday sprinkle mixes that include red and green holly leaves and berries during the Christmas season.
The Ultimate Christmas Chocolate Caramel Cups Recipe
Christmas Chocolate Caramel Cups with Sea Salt and Holly Sprinkles
Ingredients
Equipment
Method
- Melt the dark chocolate using a double boiler or microwave until smooth. Spoon 1 teaspoon into each red or green liner.
- Use a spoon to drag the chocolate up the pleated sides of the liners to create a rippled edge. Freeze for 10 minutes.
- Heat sugar in a saucepan over medium heat until it melts into a glossy, translucent golden-amber liquid.
- Whisk in butter and heavy cream until smooth. Let cool until warm but still pourable.
- Fill shells with caramel. Top with flaky white sea salt and one holly sugar garnish. Let set at room temperature.
Notes
Ensure cream is room temperature to prevent the caramel from seizing.
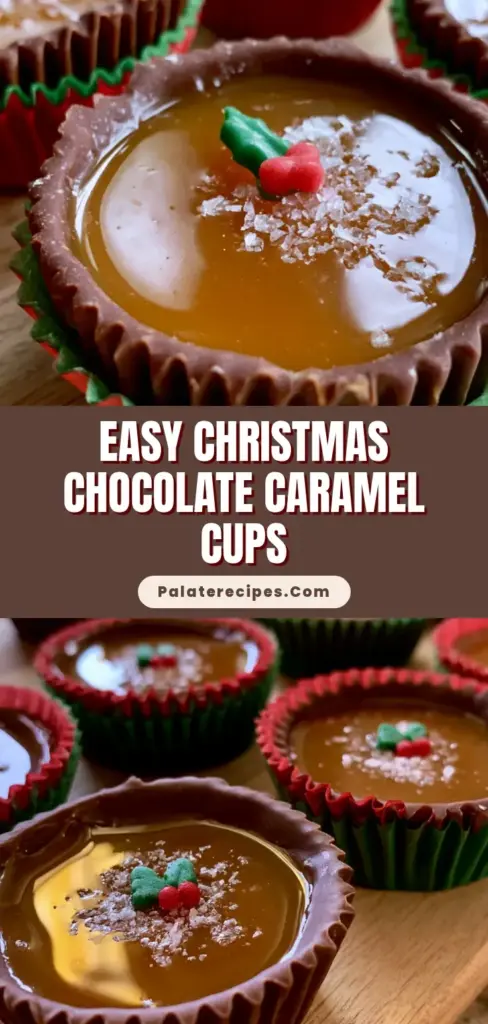
Save This Recipe to Pinterest!
Did you love these Christmas Chocolate Caramel Cups? If so, please save this recipe to your Christmas Desserts or Holiday Treats board on Pinterest! Taking a second to pin helps support our blog and allows other home cooks to find this festive recipe. If you make these, we would love to see your results—upload a photo of your red and green candy liners and rustic wooden serving board in the comments below! Don’t forget to give this recipe a 5-star rating if it’s a new holiday favorite in your home.